Create ISO Media
Table of Contents
Requirements
You will need:

Note
If you plan on running your machine in a headless (without a monitor) configuration use Ubuntu Sever otherwise use Ubuntu Desktop
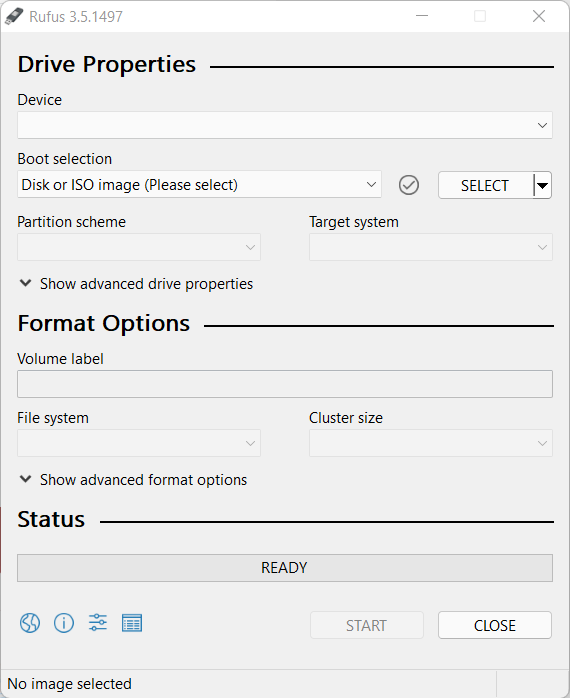
USB selection
Perform the following to configure your USB device in Rufus:
Launch Rufus
Insert your USB stick
Rufus will update to set the device within the Device field
If the Device selected is incorrect (perhaps you have multiple USB storage devices), select the correct one from the device field’s drop-down menu
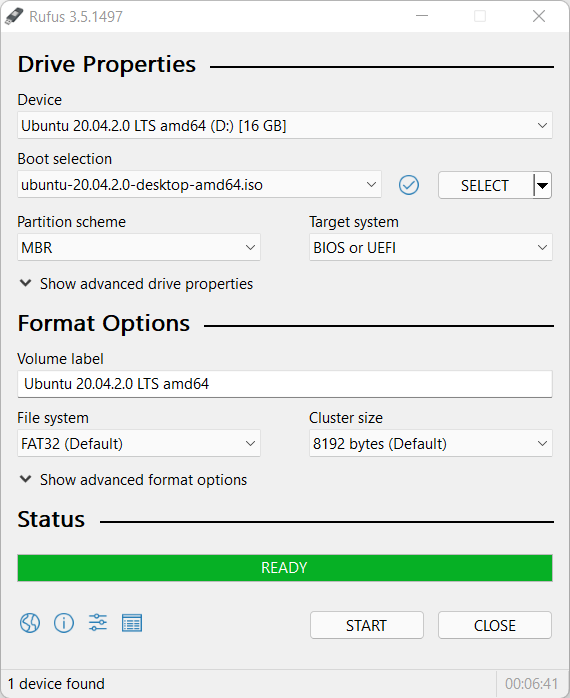
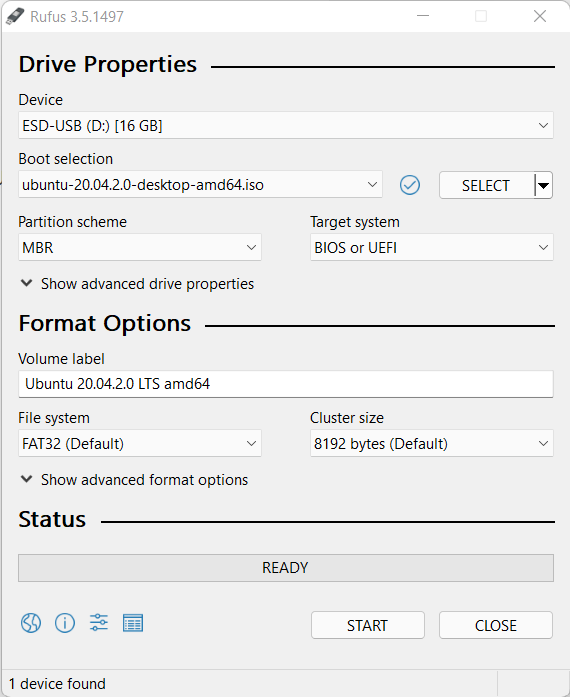
Drive properties and Format options
Danger
This process is going to wipe your USB device so make sure to backup any important files elsewhere.
Under the Drive Properties heading go down to the Device dropdown menu and select the USB drive that you wish to use.
In the Boot selection section click the SELECT button and select your desired Ubuntu image.
For the Partition scheme make sure that it says MBR
For the Target system make sure that it says BIOS or UEFI
At this point you can edit the Volume label under Format Options label your USB device after formatting.
You can leave the other options as is and press the
STARTbutton
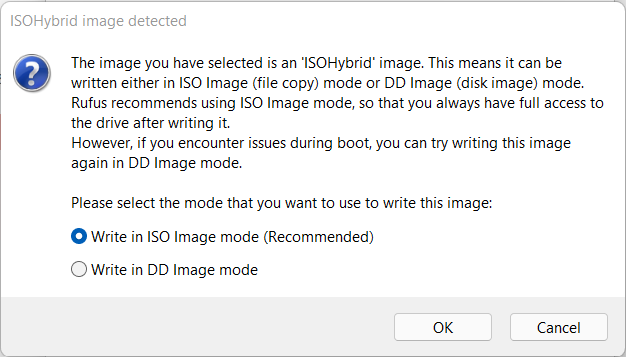
If after you click START you get an popup that looks like this click on the recommended option and then press OK
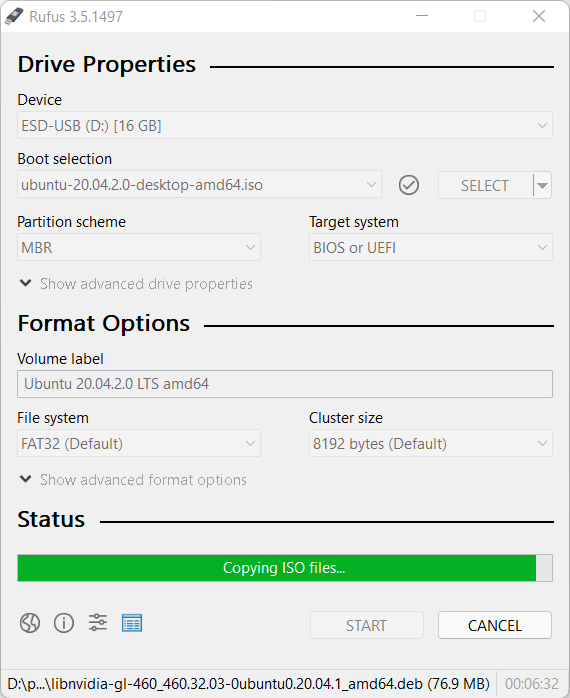
Writing the ISO
During this stage the ISO will be written to your selected USB device. While in this state it will look something like this. At this point just leave it to copy all the files.
Installation complete
Once the Rufus screen looks like the screenshot below you are done. At the end of the install process it will ask you to restart. Just click Restart Now in order to do so.
success
Yayy!!! You have successfully created your ISO image.